
Ever found yourself in a digital game of hide and seek? Private browsing on an iPhone can feel like a cozy little blanket fort for your online activities. But what happens when that fort becomes a bit too cozy, and you need to step back into the light? Whether it’s for sharing your device or just wanting to keep things straightforward, turning off private browsing is a breeze.
Navigating the world of iPhone settings can sometimes feel like trying to find a needle in a haystack. But fear not! With a few simple steps, you can ditch the incognito mode and return to the regular browsing experience. Let’s dive into how to reclaim your browsing habits without losing your sense of humor—or your sanity.
Understanding Private Browsing
Private browsing on an iPhone allows users to access the web without leaving a trace of their activities. This mode prevents the saving of browsing history, cookies, and form data, ensuring privacy during online sessions. Engaging in private browsing is possible for users seeking enhanced privacy, especially when using shared devices.
Activating private browsing provides a temporary escape from saved logs. Users can surf the internet without concerns about eavesdroppers discovering visited sites. While this mode is convenient, switching back to normal browsing is often necessary, especially for those who want to manage their online history.
In private browsing, search engines may display results differently. Users might notice ad personalization lessening due to limited tracking. This experience can feel liberating and refreshing, yet it lacks continuity since it does not save preferences or auto-fill information for future visits.
Knowing when to turn off private browsing benefits users who rely on revisiting sites or maintaining a consistent browsing experience. Disabling the mode is straightforward and restores typical functionality. Understanding these nuances enhances awareness of online privacy and its implications for overall digital behavior.
Steps To Turn Off Private Browsing On iPhone
Turning off private browsing on an iPhone is straightforward and can be done in just a few steps. The process requires minimal time and ensures a seamless transition back to normal browsing.
Using Safari Settings
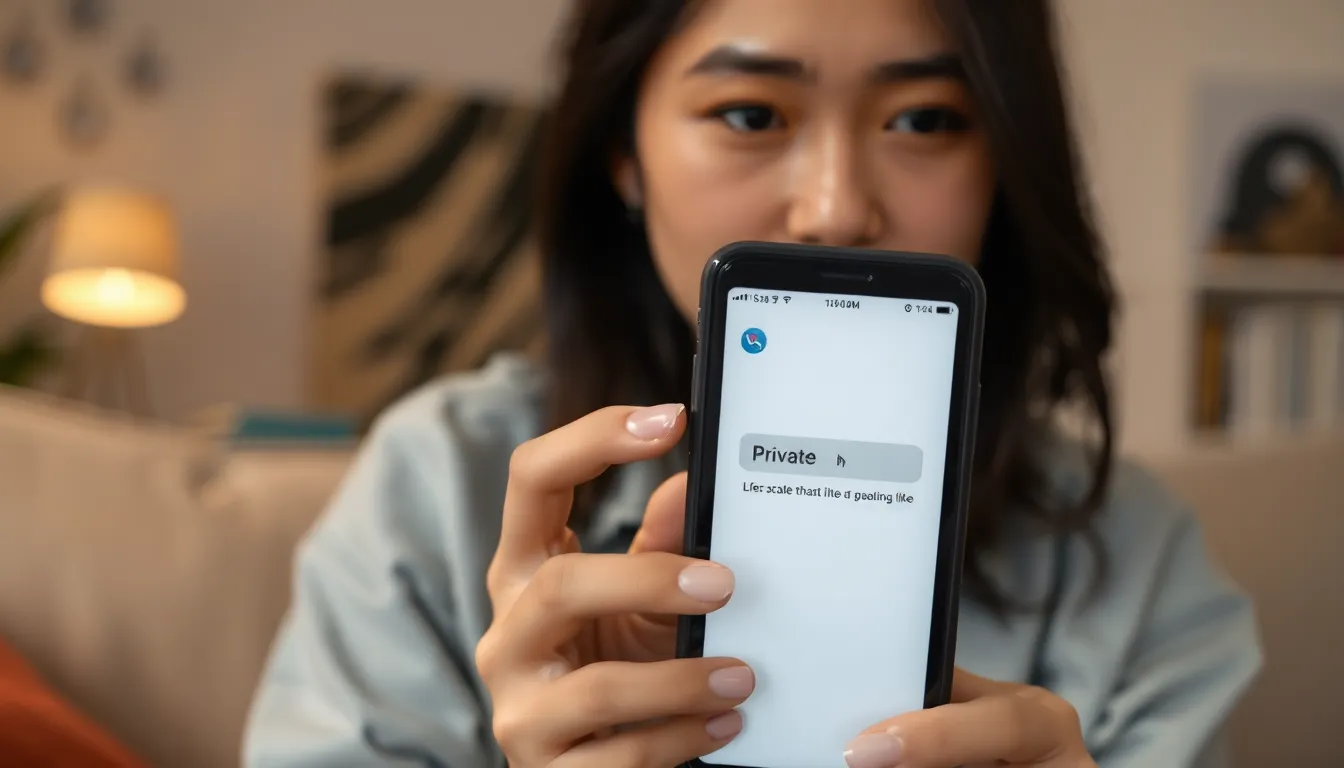
Accessing Safari settings provides a quick way to disable private browsing. First, open the Safari app. Then, tap the tabs button in the bottom-right corner. If the interface shows the “Private” option lit up, tap it to exit private browsing mode. A return to typical browsing is achieved, allowing history, bookmarks, and other settings to function as normal. Everyone benefits from the familiar browsing layout, enhancing user experience on shared devices.
Closing Private Browsing Tabs
Closing private browsing tabs is another effective method. Start by opening Safari. Next, tap the tabs button again. View all open tabs, including any in private browsing mode. Swipe left on each tab to close them individually, or tap “Done” to exit all private tabs at once. This action not only ensures that browsing activities are removed but also restores access to regular tab browsing. Users can feel assured that their previous browsing history is now accessible again.
Common Issues When Turning Off Private Browsing
Users may encounter a few common issues when trying to turn off private browsing on their iPhones. One issue involves difficulty locating the private browsing mode. Many users accidentally leave the mode on, as the interface can be slightly confusing at times.
Others face problems with tabs not disappearing even after turning off private browsing. This may happen when users overlook specific swipe gestures or unintentionally keep private tabs open.
Some users might also struggle with the absence of saved browsing history after disabling the mode. They expect to see previous visits reinstated immediately. However, private browsing prevents retaining any history, cookies, or form data.
Additionally, limited understanding of Safari’s layout can complicate the process. Users unfamiliar with how to access tabs might take longer to disable private browsing, leading to frustration.
Inconsistent settings could further hinder users. If a device has multiple user profiles or restrictions set, turning off private browsing might not restore the expected browsing experience.
Lastly, issues related to software updates can arise. An outdated iOS may cause glitches in Safari, affecting the ability to exit private browsing effectively. Ensuring that the iPhone is updated can mitigate such problems.
These issues highlight the importance of being aware of how private browsing functions on an iPhone, ensuring a smoother transition back to regular browsing.
Tips For Managing Browsing Privacy
Understanding browsing privacy helps users make informed decisions. Adjust settings regularly to enhance personal security. Disable private browsing when sharing devices with others to maintain transparency. Utilize the “Clear History and Website Data” option in Safari settings to further protect online activities.
Use different browsers for various activities. Privacy-focused browsers often offer additional features that enhance security. Remember to regularly update the iPhone’s software to benefit from the latest security protocols. Set up a passcode for the device to prevent unauthorized access to browsing history.
Familiarizing oneself with cookies and tracking technologies is essential. Browsers can often be configured to block third-party cookies or track scripts, enhancing privacy. Regularly reviewing browser extension permissions also reduces potential risks from unmonitored access.
Accessing website privacy policies offers insights into how personal data is used. Bookmark these policies for quick reference when browsing. For further protection, consider using Virtual Private Networks (VPNs) to encrypt online activities. VPNs provide additional layers of security, helping mask the user’s IP address.
Lastly, understanding the limitations of private browsing is vital. While it helps avoid logs on the device, it doesn’t prevent internet service providers from tracking user activities. Reevaluating the need for private browsing in various scenarios allows users to make informed choices about online privacy.
Turning off private browsing on an iPhone is a simple process that can significantly enhance the user experience. By following the outlined steps, individuals can seamlessly return to their regular browsing habits. This transition not only restores access to previous browsing history but also simplifies the device for shared use.
Understanding the nuances of private browsing helps users make informed decisions about their online activities. While it offers a temporary respite from tracking, it’s crucial to recognize its limitations. Regularly adjusting privacy settings and utilizing additional security measures can further protect personal information. Ultimately, being mindful of when to enable or disable private browsing can lead to a more secure and enjoyable online experience.