Table of Contents
ToggleCapturing the moon’s beauty with an iPhone might sound like a cosmic challenge, but it’s easier than finding a Wi-Fi signal in the middle of nowhere. With just a few tips and tricks, anyone can transform their nighttime snaps from blurry blobs into stunning lunar portraits that would make even NASA jealous.
Understanding Moon Photography
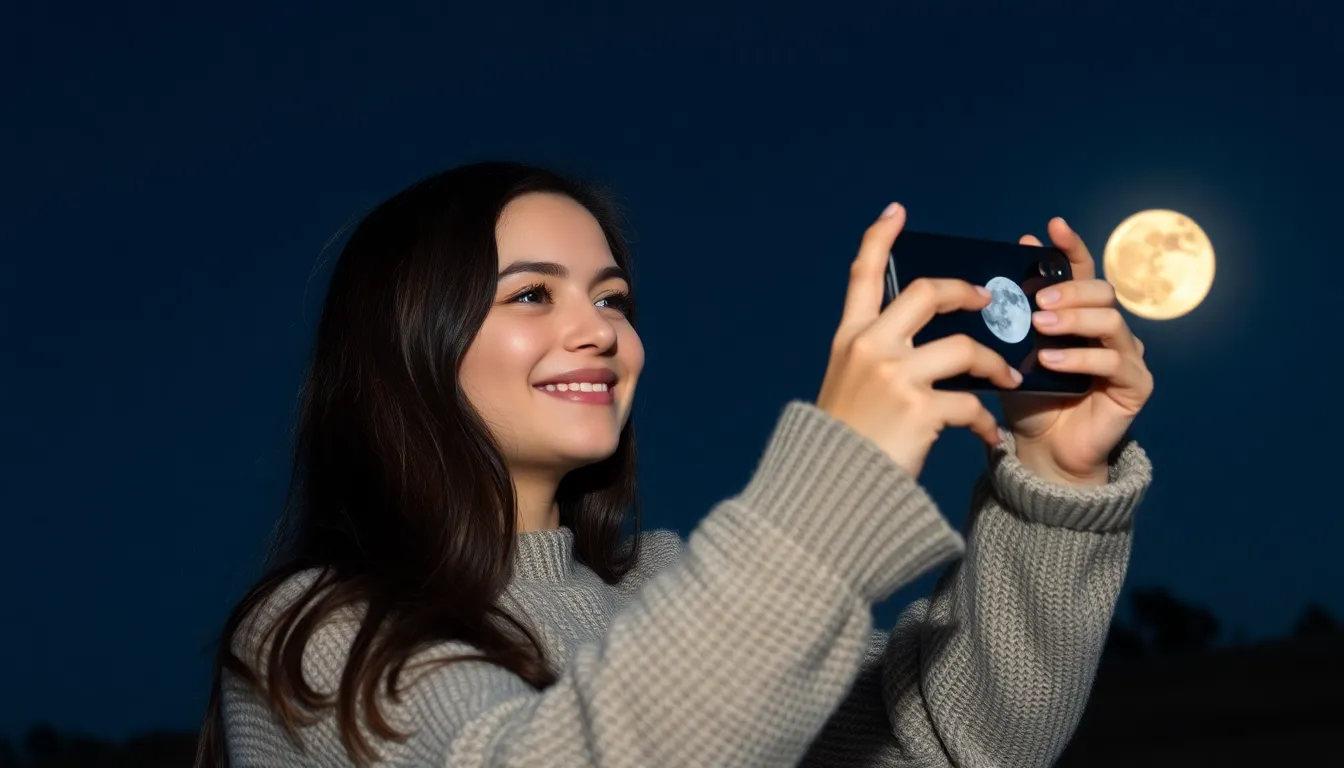
Capturing the moon’s beauty through an iPhone requires a good understanding of techniques and tools. The right approach makes a significant difference in the quality of lunar images.
Importance of Equipment
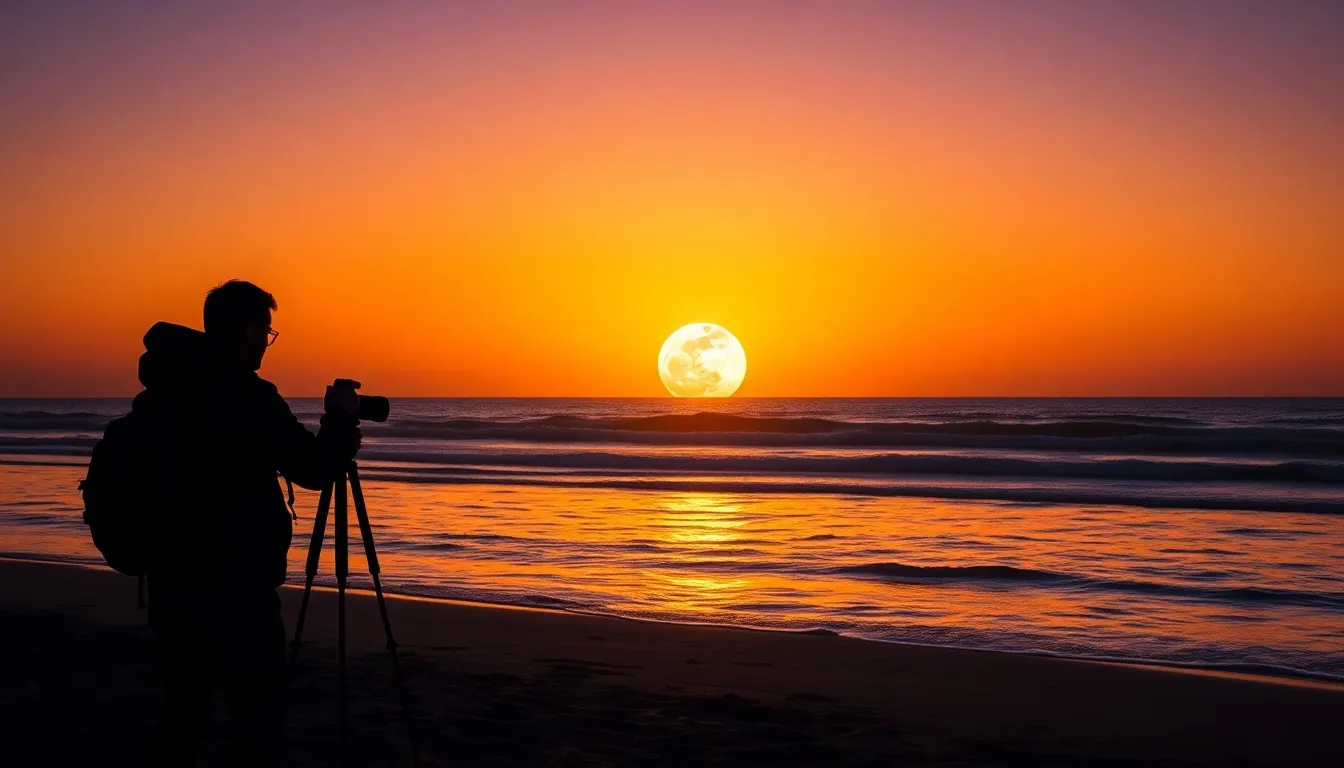
Equipment plays a crucial role in photography quality. An iPhone equipped with the latest technology enhances the ability to capture clear details of the moon. Using a tripod stabilizes the camera, preventing blurriness. A zoom lens attachment can significantly extend the iPhone’s reach, allowing for closer shots. Cold weather or windy conditions often make stabilization even more essential for sharp images. A remote shutter release avoids camera shake caused by pressing the screen.
iPhone Camera Features
iPhone camera features enhance moon photography dramatically. Night mode leverages low light conditions, improving clarity when photographing lunar landscapes. The option to adjust exposure allows for better brightness control on the moon’s surface. Portrait mode provides a unique way to capture the moon with a foreground subject. The ability to shoot in RAW format increases post-editing options, preserving more detail. Additionally, using the grid feature aids in aligning the moon within the frame. Each feature contributes to achieving stunning lunar photographs.
Preparing for the Shoot

Getting ready to capture the moon requires planning and attention to detail. By focusing on timing and location, photographers can enhance their lunar images.
Best Times to Photograph the Moon
Photographers achieve the best results when timing aligns with the moon’s phases. Full moons offer excellent visibility and detail, so capturing images during this phase often yields stunning results. Shooting during the golden hour, shortly after sunset or before sunrise, enhances colors and textures in the sky. Furthermore, photographing the moon when it’s near the horizon can create dramatic effects due to atmospheric scattering. Choosing these optimal times for lunar photography significantly improves image quality.
Finding the Right Location
Selecting an ideal location plays a crucial role in moon photography. Open areas with minimal light pollution help reveal intricate details of the moon’s surface. Scenic viewpoints, such as hills or beaches, provide attractive foreground elements for better compositions. Proximity to the horizon line also matters, so look for places where the moon rises or sets unobstructed. Local parks or countryside locations often serve as excellent spots for shooting the moon. Prioritizing these aspects ensures excellent photographic opportunities.
Techniques for Capturing the Moon
Capturing the moon requires specific techniques that enhance image quality and visual impact.
Using Zoom and Focus Settings
Utilize the zoom feature to get closer to the moon without physical distance. This option allows photographers to magnify details. Engage the autofocus by tapping the screen on the moon for sharp clarity. Manual focus provides additional control, especially on larger moons. Keep in mind that excessive digital zoom can reduce image quality. An external zoom lens attachment may enhance the capabilities of the iPhone camera, providing sharper details in lunar photography. Selectively zooming while maintaining a steady hand or tripod ensures stability and reduces blur.
Adjusting Exposure and Brightness
Adjust exposure to avoid overexposing the bright moon. Swipe up or down on the screen to fine-tune brightness levels. This adjustment helps in revealing surface details while keeping the background visible. Monitor changes in brightness on the phone’s screen to maintain quality. Using Night mode offers better low-light performance, enhancing overall image quality. Experimenting with exposure settings can significantly alter the final outcome. Capturing images near the horizon may require different exposure adjustments due to varying light conditions.
Editing Moon Pictures
Editing enhances the beauty of moon pictures captured on an iPhone. Key techniques and apps can elevate lunar photography significantly.
Recommended Editing Apps
Popular editing apps include Snapseed, Adobe Lightroom, and VSCO. Snapseed offers a variety of filters and precise control over brightness and contrast. Adobe Lightroom provides advanced editing tools, including RAW file handling for sharp detail enhancement. VSCO features easy-to-use presets to create unique styles quickly. All three apps help refine images, making them clearer and more visually appealing.
Tips for Enhancing Details
Enhancing details starts with adjusting contrast and sharpness settings. Increasing contrast helps the moon stand out against the night sky. Additionally, sharpening can bring out more texture in the lunar surface. Experimenting with selective adjustments can also spotlight features like craters. Using the clarity tool improves the overall definition in the image. Finally, cropping allows for improved composition, focusing on the moon’s breathtaking details.
Capturing stunning moon photographs with an iPhone is within reach for anyone willing to explore and experiment. By applying the right techniques and utilizing the iPhone’s features, photographers can achieve remarkable results. Proper preparation and selecting the right conditions play a vital role in the overall outcome.
Moreover, editing can transform a good photo into a breathtaking one. With the right apps and techniques, enhancing details and improving composition becomes an enjoyable part of the process. Armed with these insights, anyone can elevate their lunar photography and create images that truly capture the beauty of the moon.


